Creating AnyDB Records
Records are the foundational building blocks in AnyDB. They represent structured business records like customer profiles, invoices, or tasks.
Each record is created from an AnyDB Type, which defines its structure. This ensures consistency across records, enabling streamlined operations, reporting, and automation.
Creating a New Record
To create a new record, you can either
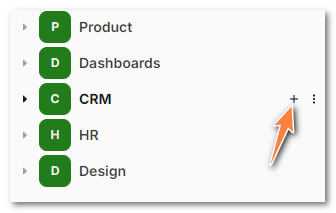
- Click on the '+' button next to the database name in left sidebar to create a new item
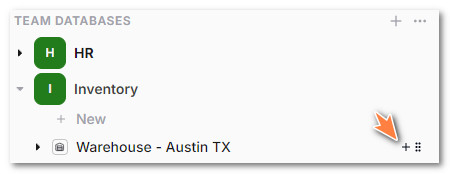
- Click on the '+' button next to any existing record to create a new record that is created as a child record of the existing record
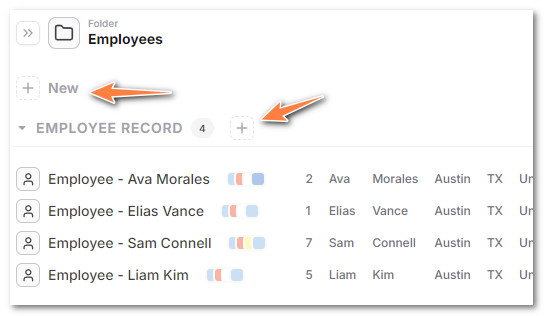
- In the listings view, you can click on '+ New' or click on '+' next to a record group to create a specific record in that folder
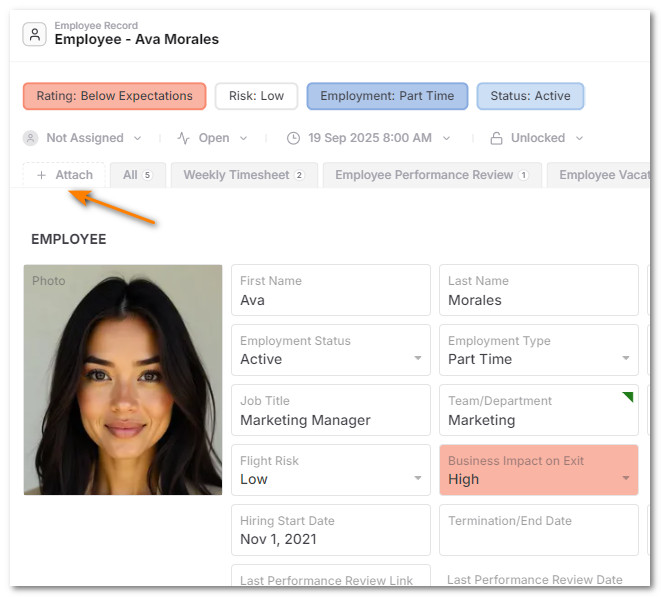
- In the record view, you can click on '+ Attach' to create a new record attached to the current record
Choosing the Type of Record to create
AnyDB records can be many types including files and folders.
To create a specific record, in the new Record Dialog, click "Record"
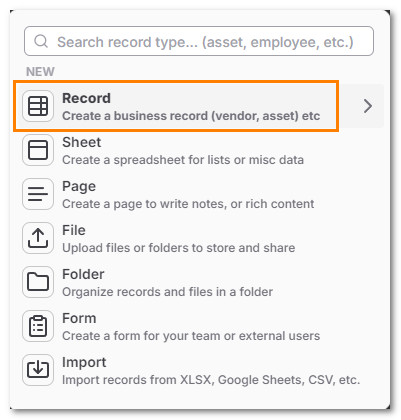
Choose the Record to Create,
You can search for a specific name by typing in the record type in the search box.
Just click the type you want and the record will be created.
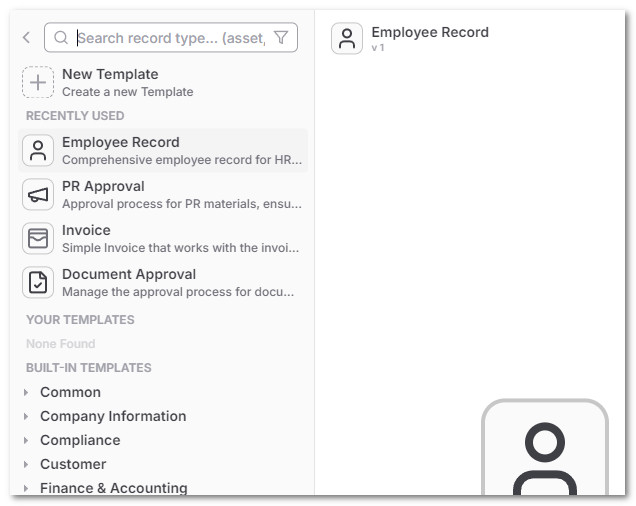
Browse and create a record from an existing type
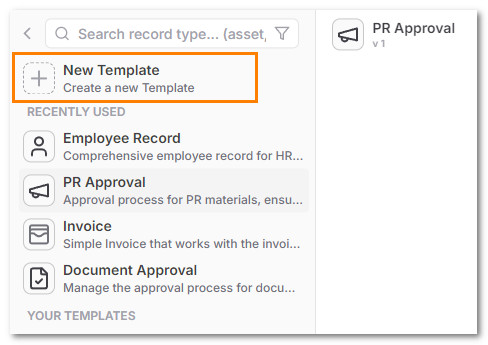
In the New Item Creation Dialog, you can browse through available types.

When you find a type you want, click it to create a new record based on that type. This will automatically generate a ready-to-use business record for you to fill in.
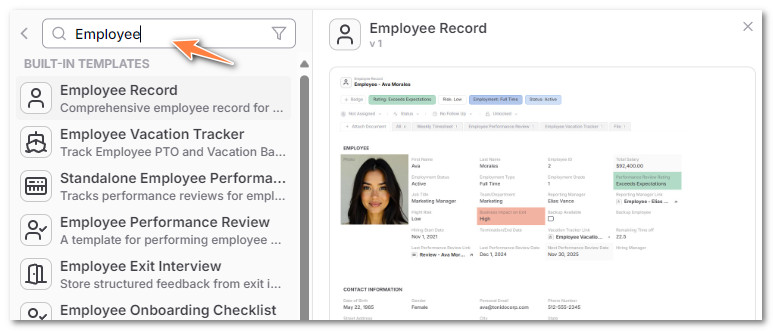
If you want more information about the type, use the preview section on the right side of the new item creation dialog and click the expand icon to view the full-size preview.
Create a custom AnyDB Record
If you want to create a new custom record
- Create a new Record by clicking the add record option in the different ways possible
- In the new record dialog, select first “Record” option in the list
- Select New Type to begin a new type creation flow.
Follow the instructions to create a new AnyDB Type.